Google Cursive is likely one of the be aware apps pre-installed on many touchscreen-enabled Chromebooks. It's a comparatively new handwritten note-taking app from Google that’s unique to Chromebook. It’s a progressive internet app (PWA) accessible via the Google Chrome browser. We’ll present you the best way to arrange and use Google Cursive in your Chromebook.

Get Cursive on Your Chromebook
As talked about earlier, Google Cursive is pre-installed on touchscreen Chromebooks. There ought to be a “Cursive” app shortcut in your Chromebook’s launcher or app drawer.
Press the Search or Launcher icon and sort “cursive” within the search bar. The Cursive app shortcut ought to be within the search outcomes.

Google Cursive initially debuted on the HP Chromebook x2 11 in 2021. The app works on virtually all new-generation Chromebook fashions and Chrome OS variations. In case your Chromebook doesn’t have the Cursive app pre-installed, observe the steps under to put in the app.
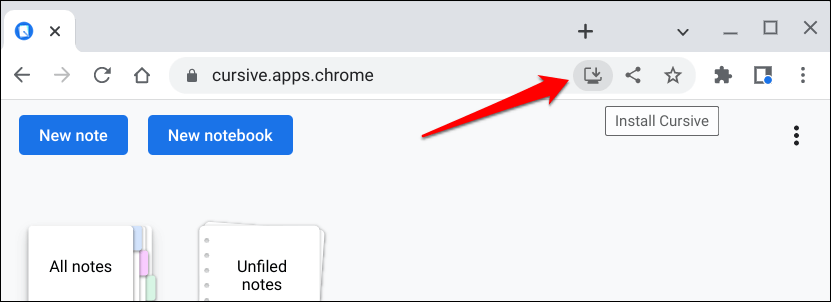
- Open the Google Chrome browser in your Chromebook and go to this URL: https://cursive.apps.chrome.
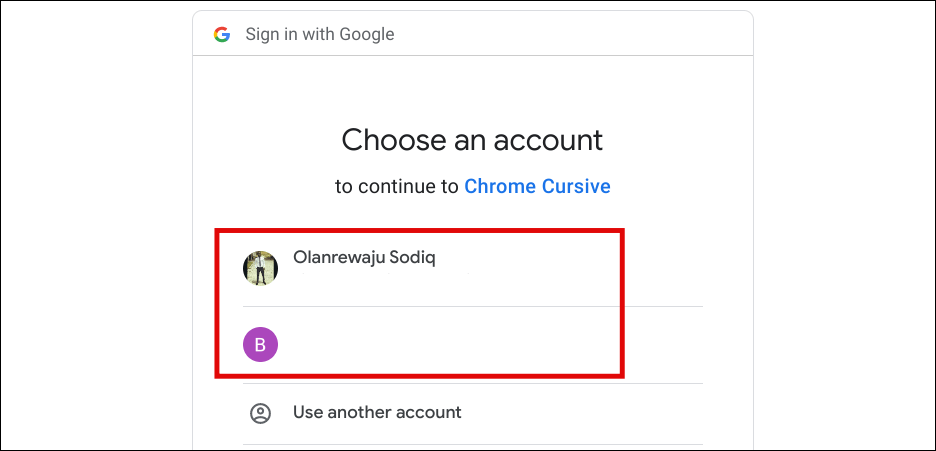
- When prompted, join your Google account or register along with your Google account credentials.
- Choose or faucet the Set up Cursive (pc with down-arrow) icon in the proper nook of the deal with bar.
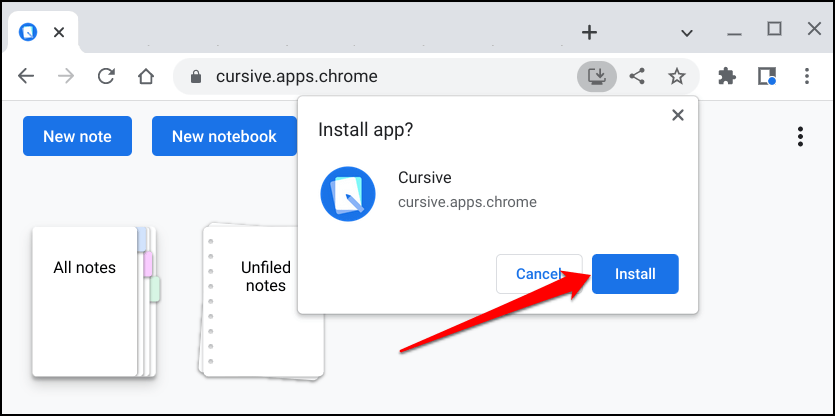
- Choose Set up on the affirmation immediate.
The Google Cursive PWA works offline with out a Wi-Fi connection. Nevertheless, your Chromebook will need to have an web connection to sync notes and notebooks to your Google account.
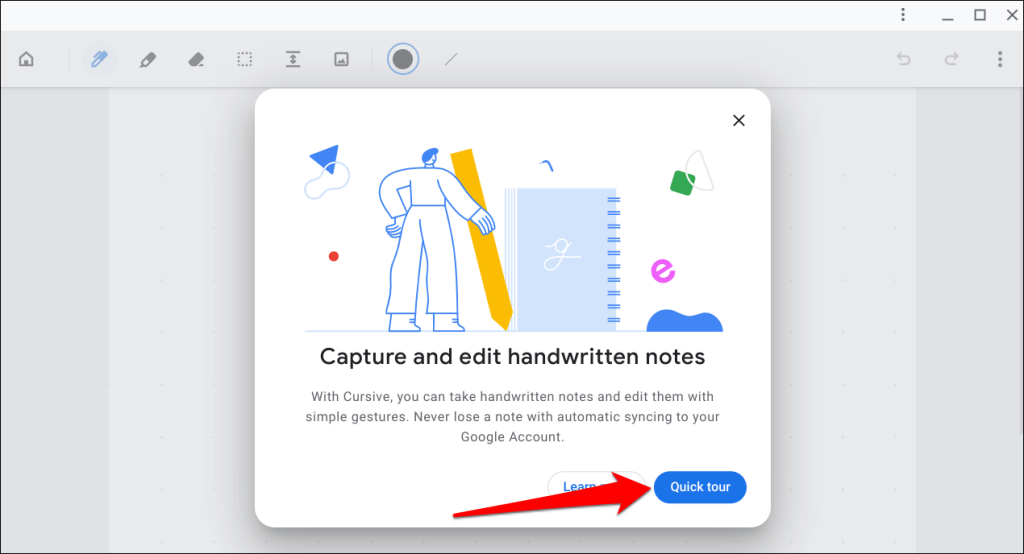
Google Cursive’s internet app shortcut ought to now be accessible in your Chromebook’s launcher. We advocate deciding on the Fast Tour choice if you open Cursive for the primary time. That’ll present you an outline of the app’s important options, functionalities, and the best way to use them.
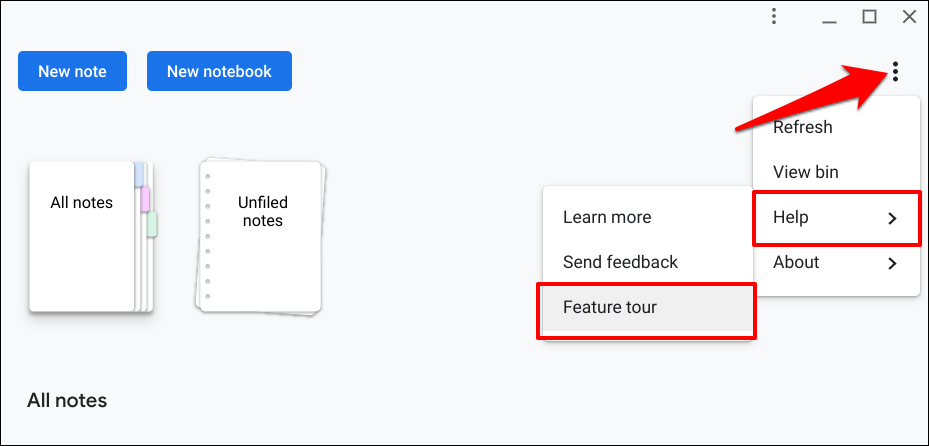
If you happen to didn’t take the tour, you would nonetheless entry the quick tutorial throughout the app. Faucet the three-dot icon within the top-right nook of the app’s dashboard, choose Assist, and select Characteristic tour.
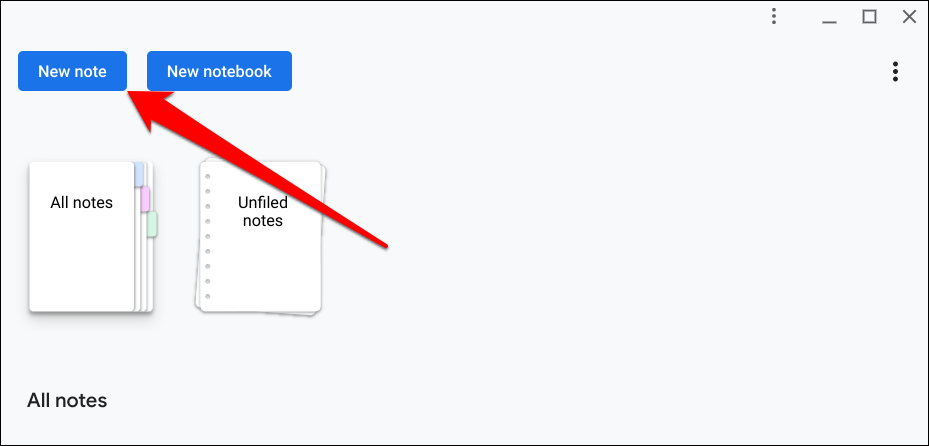
You’ll discover two choices on the app’s dashboard: New be aware and New pocket book.
Notes are paperwork with handwritten content material—texts, sketches, pictures, drawings, and so forth. Alternatively, notebooks are multi-paged paperwork with a group of notes. Consider notes and notebooks as worksheets and workbooks in Microsoft Excel.
Create Notes with Google Cursive
Open Cursive and choose New be aware. That’ll launch the canvas the place you create and edit notes.
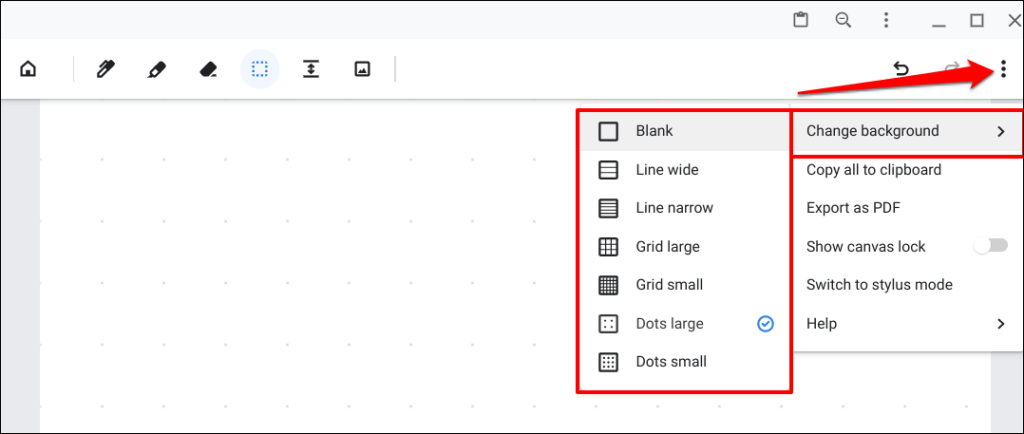
You’ll discover dotted strains on the canvas. You'll be able to change the background type in order for you.
Faucet the three-dot menu icon within the top-right nook, choose Change background, and select your most well-liked background type.
Use Google Cursive Pen Software
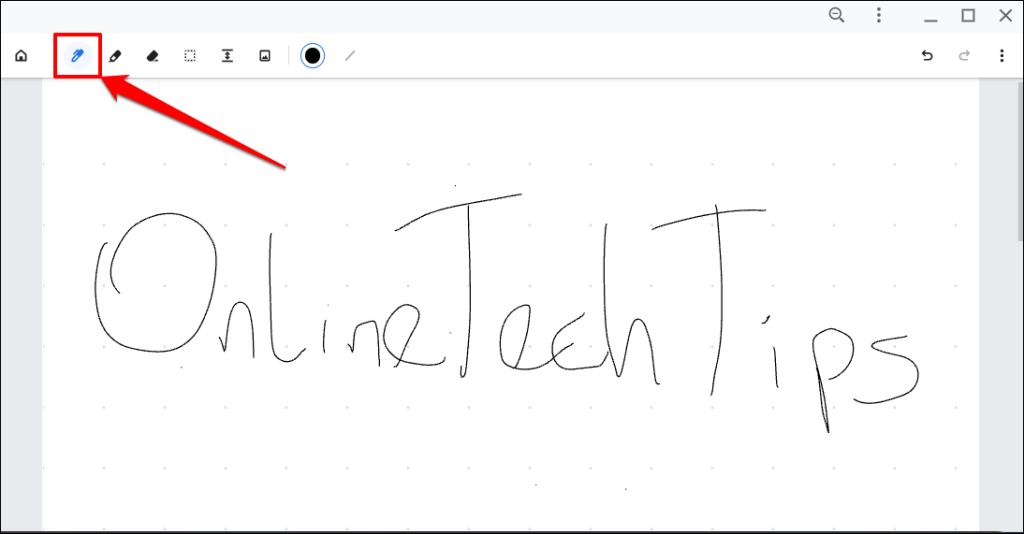
The Pen software is what you utilize to jot down and attract Google Cursive. Choose the Pen icon on the toolbar and scribble texts on the canvas along with your finger or stylus pen.
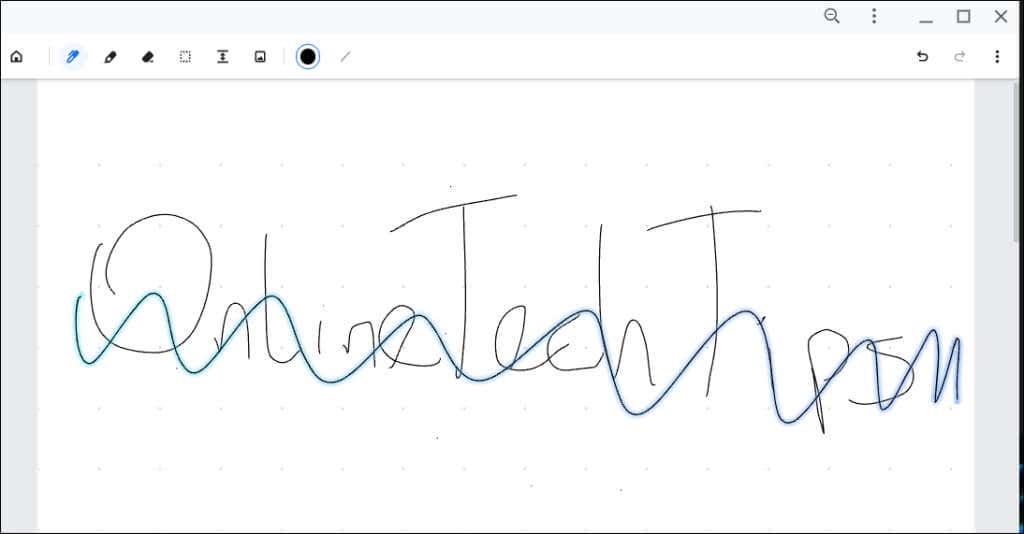
You can even use the Pen to pick, transfer, and delete content material (texts and drawings) on the canvas. Choose the Pen icon, scribble over the content material, and faucet the glowing scribble to delete the content material.
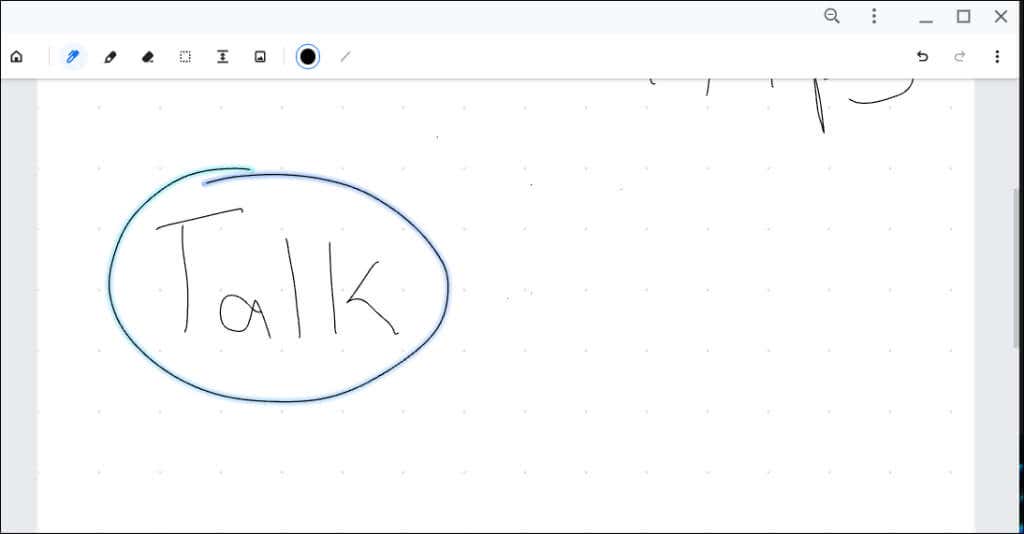
To maneuver content material across the canvas, draw a circle over the content material and drag the glowing circle.
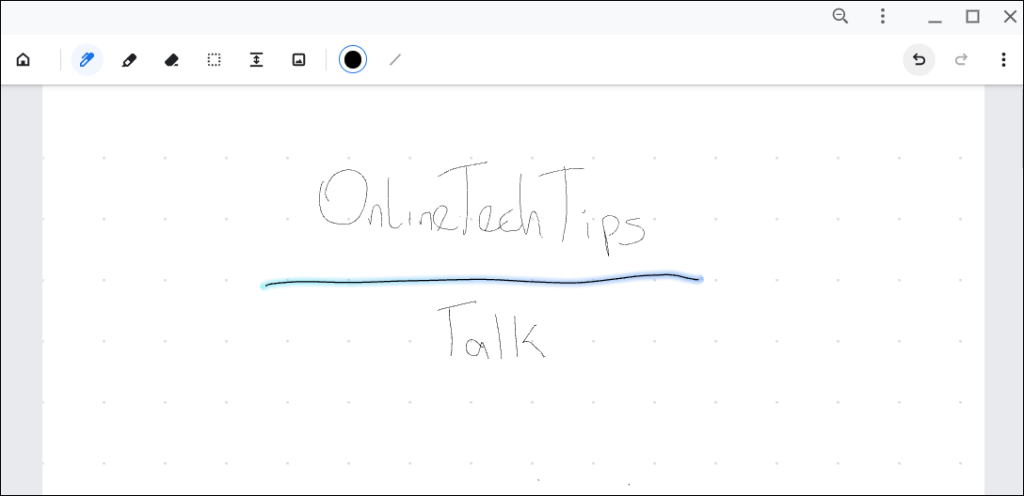
Draw a horizontal line and drag down the glowing line to extend the (horizontal) area between content material in your canvas.
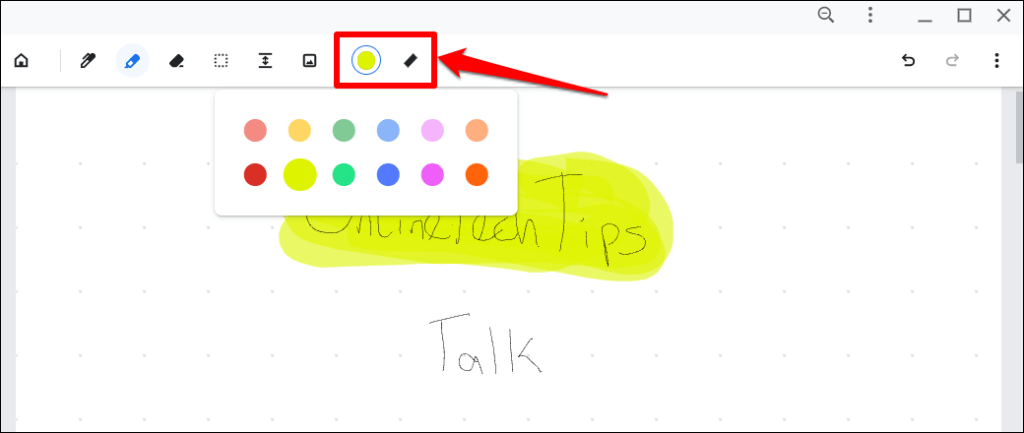
Choose the Shade palette or Stroke Thickness choices on the toolbar to alter the colour or thickness of your scribbles.

Use Google Cursive’s Highlighter
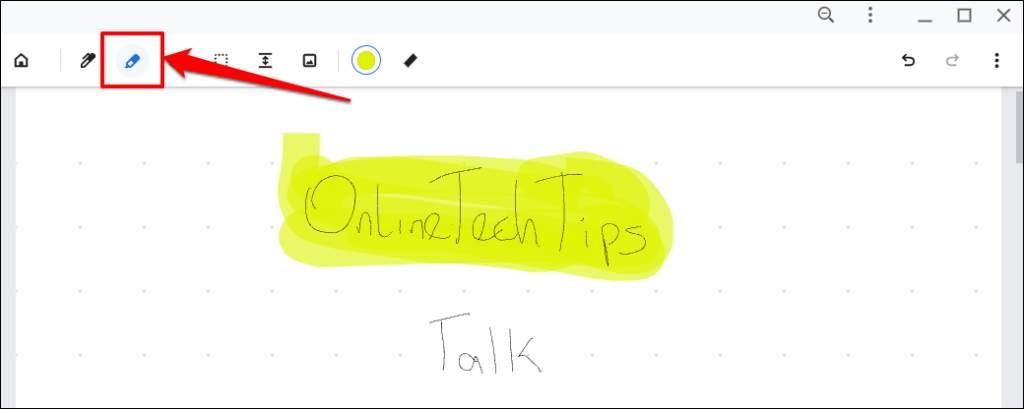
The Highlighter software attracts consideration to vital content material in your canvas utilizing low-opacity colours. It really works equally to the Pen software.
Choose the Highlighter icon on the toolbar and scribble over the content material you need to spotlight.
You can even change the colour and thickness of the Highlighter software in Google Cursive.
Erase Content material in Google Cursive
Choose the Eraser software on the toolbar and scribble over the content material you need to erase out of your be aware.
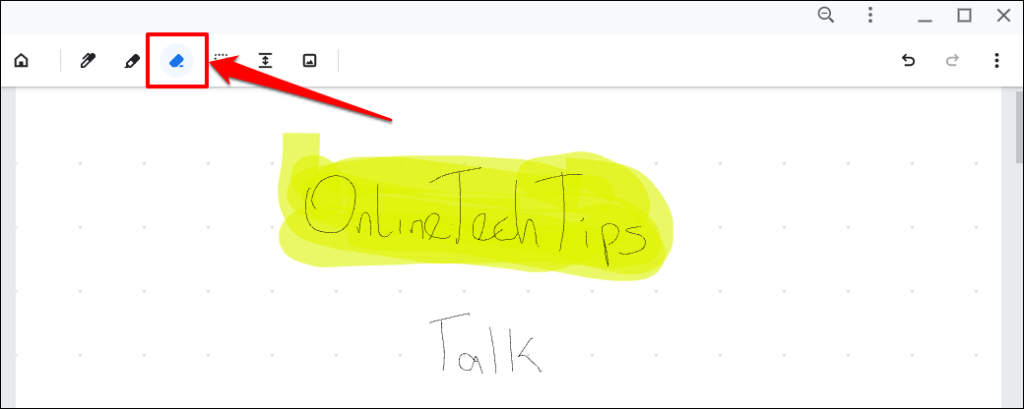
The Eraser software can delete something on the canvas besides pictures. Test the following session to learn to add and delete pictures in Google Cursive.
Handle Photographs in Google Cursive
Faucet the Insert picture icon on the toolbar, choose the picture within the Recordsdata app, and choose Open.
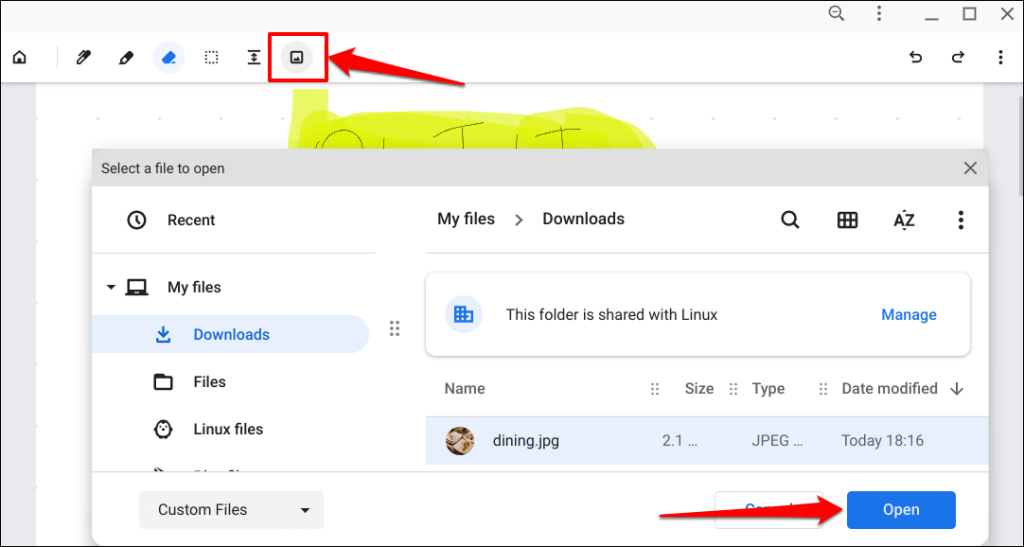
That’ll add the picture to your be aware. Resize the picture or transfer it to your most well-liked place on the canvas. Faucet wherever exterior the canvas if you’re carried out.
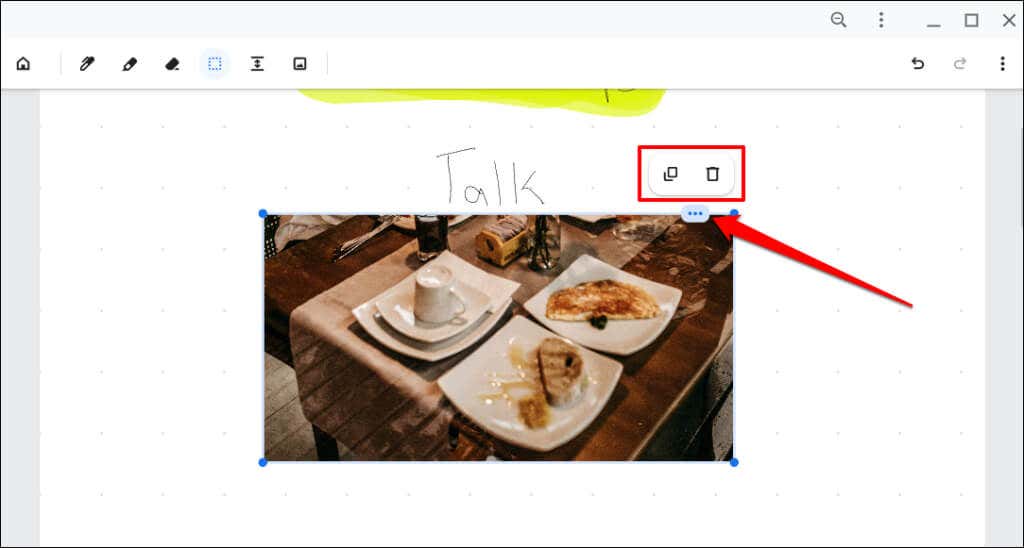
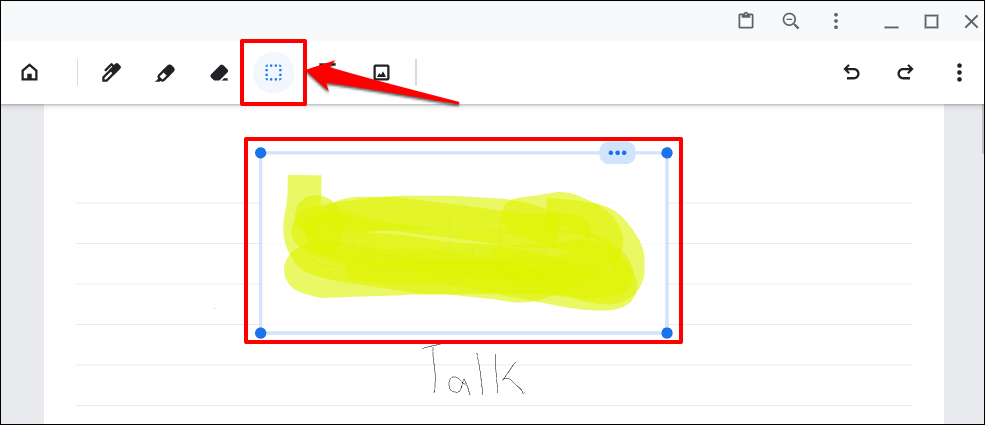
To make additional adjustments to a picture, you need to first choose the picture utilizing the Choice software. Faucet the Choice software (dotted sq. icon) on the toolbar and faucet the picture you need to edit.
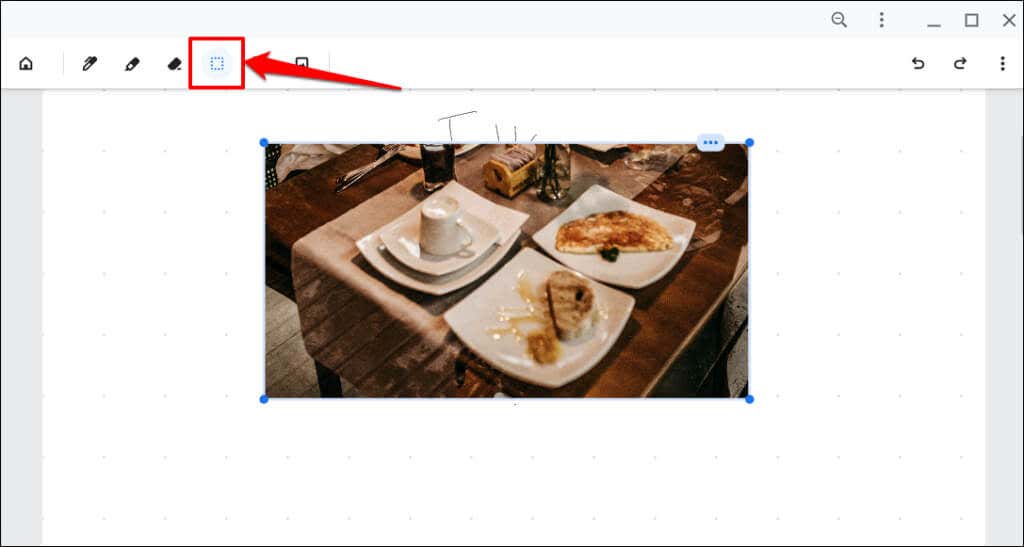
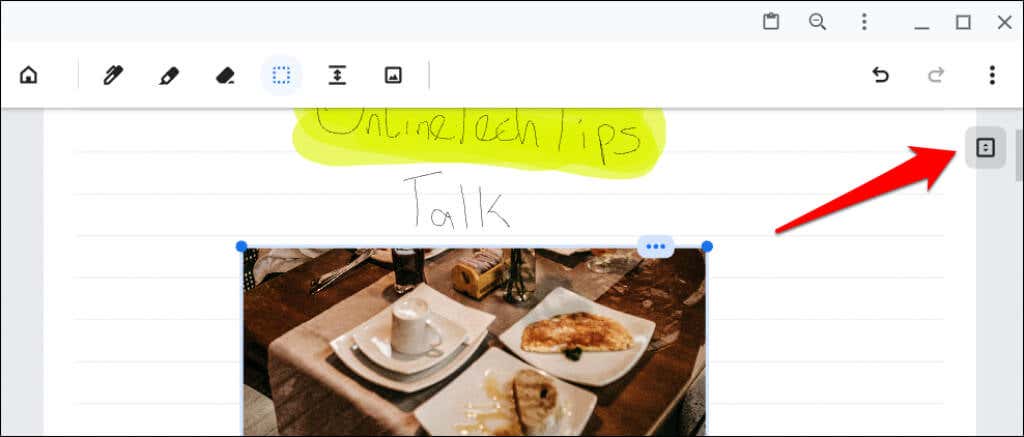
Resize the picture from any of the 4 corners or drag it to a brand new place. Faucet the three-dot icon within the top-right nook to open the picture menu.
Choose the Bin icon to delete the picture or faucet the Copy icon to repeat the picture to your Chromebook’s clipboard. Press Ctrl + V to stick a duplicate of the picture wherever on the canvas.
Make Area Between Content material
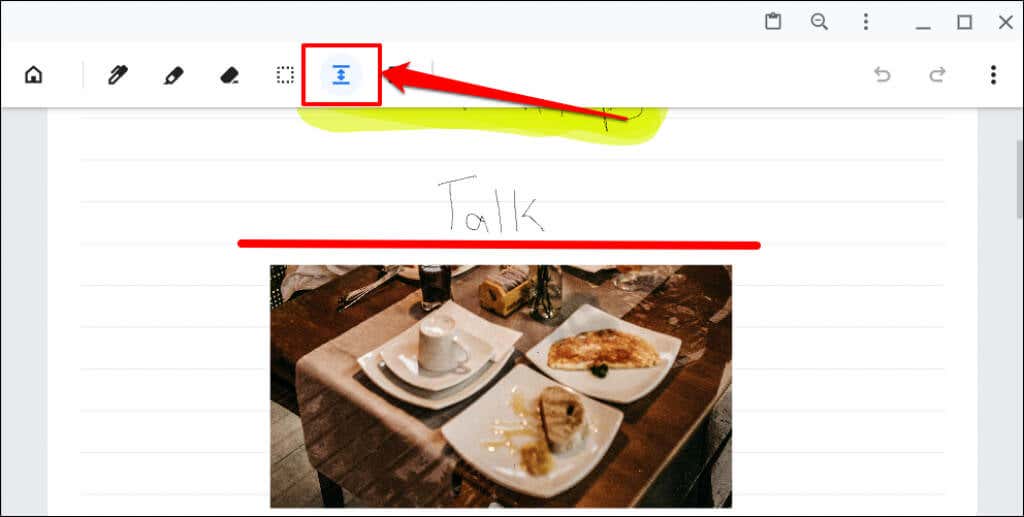
Though the Pen software can regulate the area between content material, Google Cursive has a devoted “Make area” software. The software robotically provides extra space between objects on totally different rows/strains.
Choose the Make area software on the toolbar and faucet the row the place you need to add extra space.
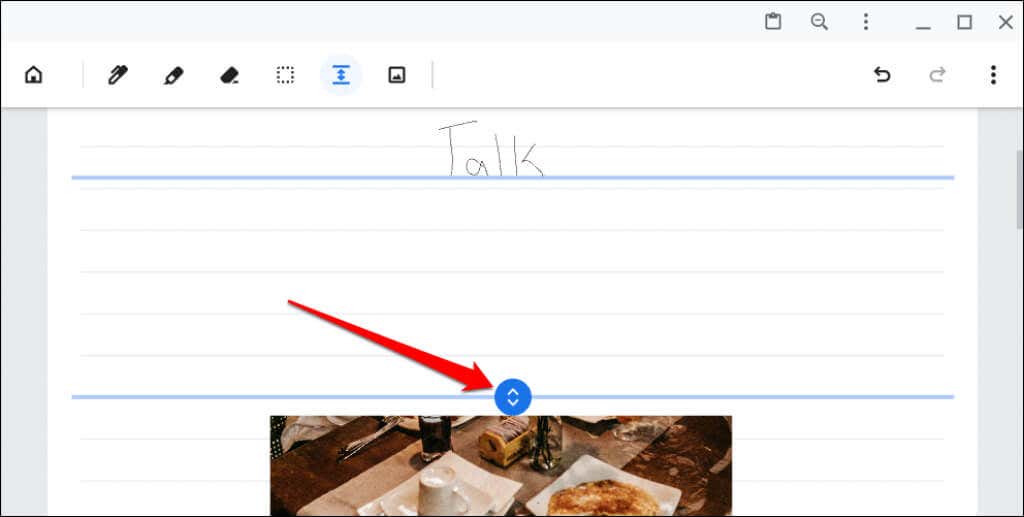
That’ll area out content material between the chosen row. Drag the decrease line to extend or lower the area.
The Selector Software
We illustrated how Google Cursive’s Selector software works with pictures. Now, let’s clarify the way it works with texts and drawings.
Faucet the Selector software (dotted sq. icon) on the toolbar and drag the crosshair icon over a textual content or drawing.
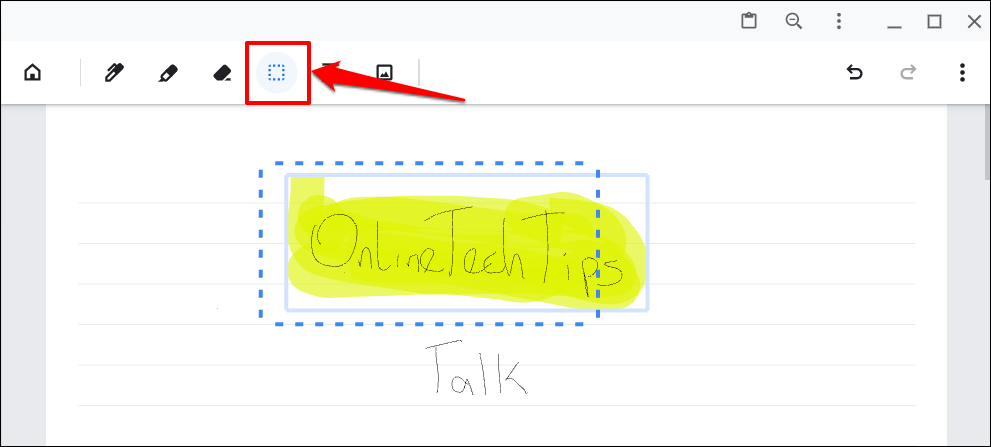
To pick out and spotlight, faucet the Selector software and faucet the spotlight.
Lock Canvas in Google Cursive
Lock your canvas when you typically scroll or zoom it by chance. First, it's important to configure Google Cursive to point out the canvas lock icon in your be aware.
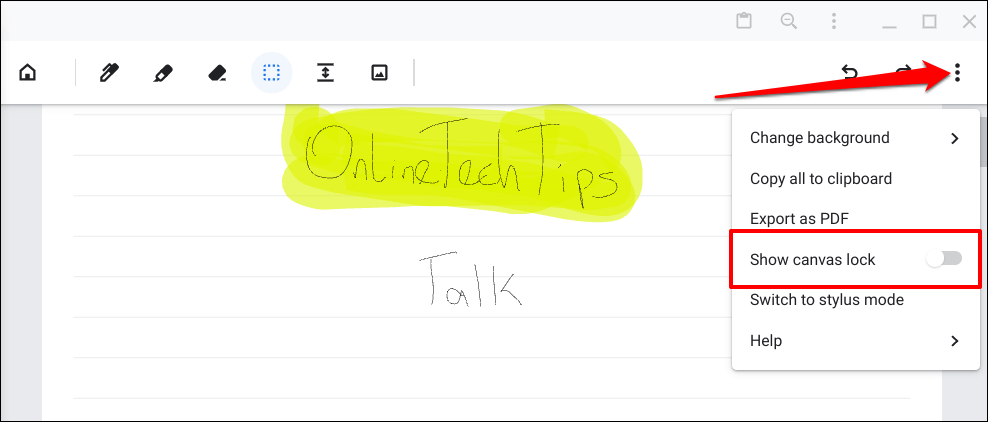
Faucet the menu icon within the top-right nook and toggle on Present canvas lock.
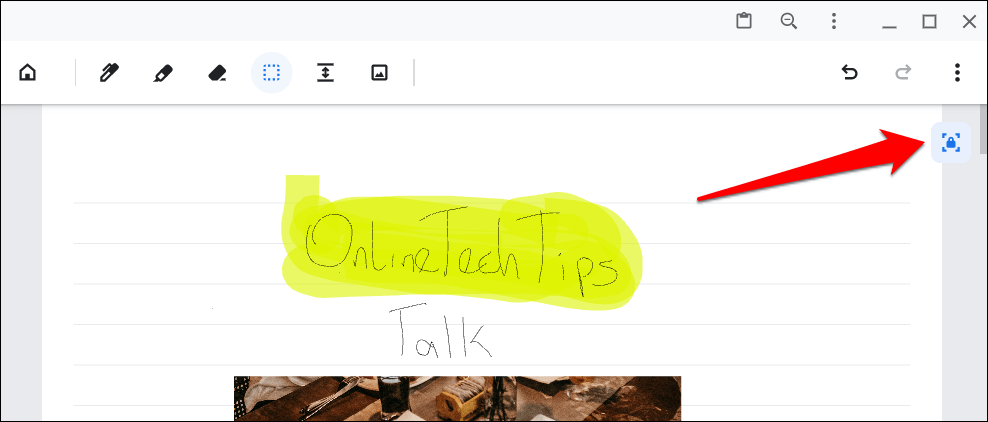
Faucet the Canvas Lock icon within the top-right nook to pause upward and downward scroll on the canvas.
Faucet the Lock icon once more to unlock the canvas.
Swap Between Stylus and Contact Mode
You'll be able to create handwritten notes in Google Cursive along with your fingers or stylus pen. Google Cursive is optimized to work with finger faucets and touchscreen gestures in contact mode.
If there’s a stylus pen related to your Chromebook, Google Cursive robotically prompts stylus mode. You'll be able to swap between contact and stylus mode anytime you need.
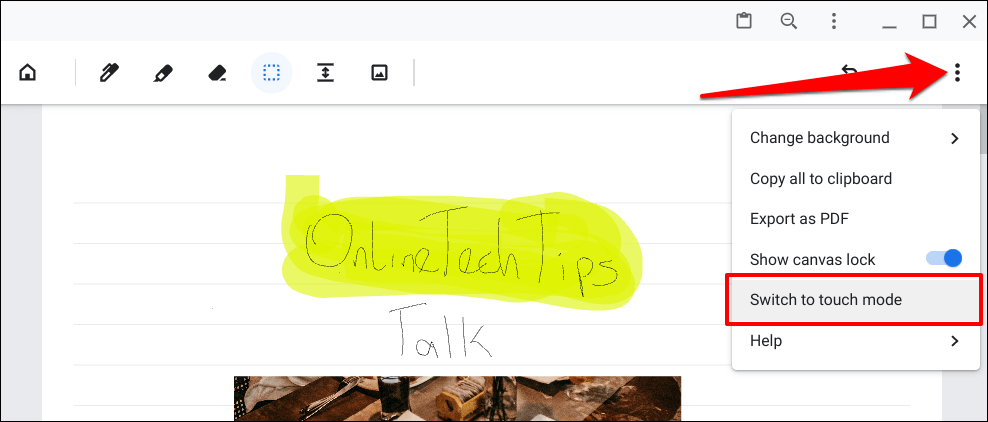
Faucet the canvas menu icon and choose Swap to the touch mode or Swap to stylus mode.
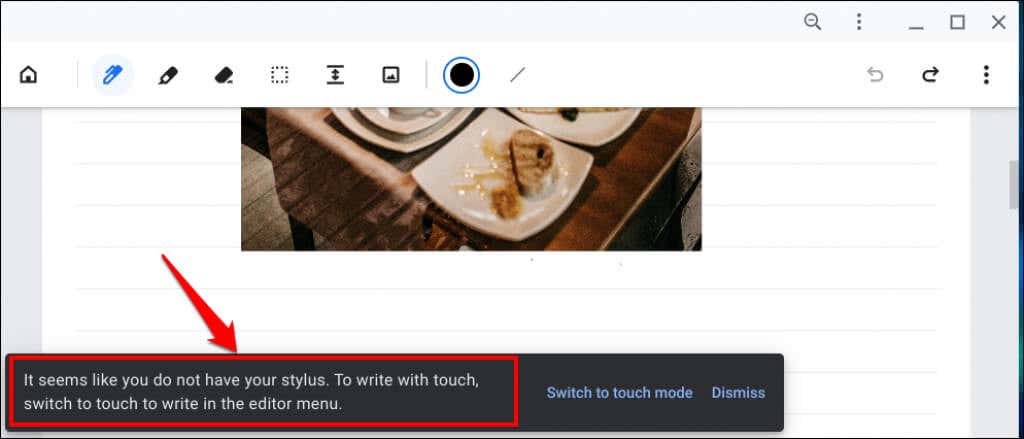
Google Cursive will show an error message if it doesn’t detect a stylus pen when utilizing the app in stylus mode. Additionally, you'll be able to’t use some options in stylus mode with out a stylus pen.
In case your Chromebook doesn’t have a stylus however helps the Common Stylus Initiative (USI), you should use third-party styluses or USI pens.
Undo and Redo Adjustments
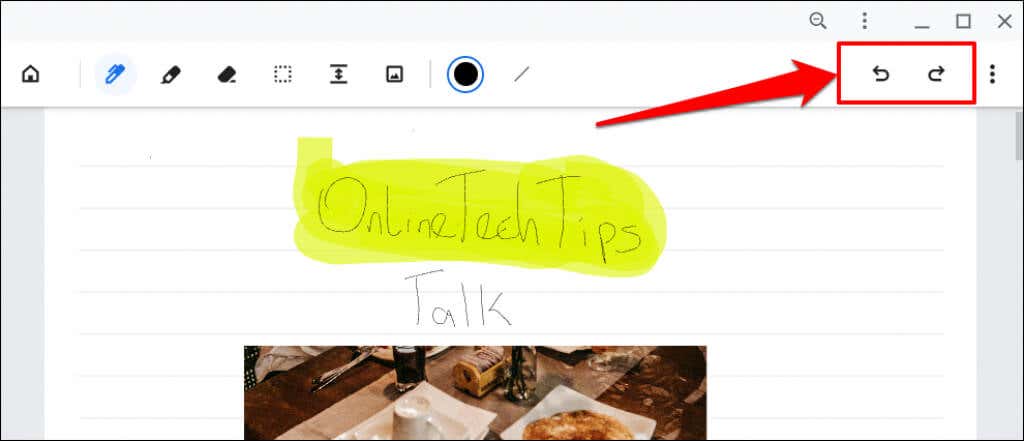
System-wide keyboard shortcuts for undoing (Ctrl + Z) and redoing (Ctrl + Shift + Z) earlier actions don’t work in Google Cursive. Use the Undo and Redo icon within the top-right nook of the canvas as an alternative.
Share and Export Notes
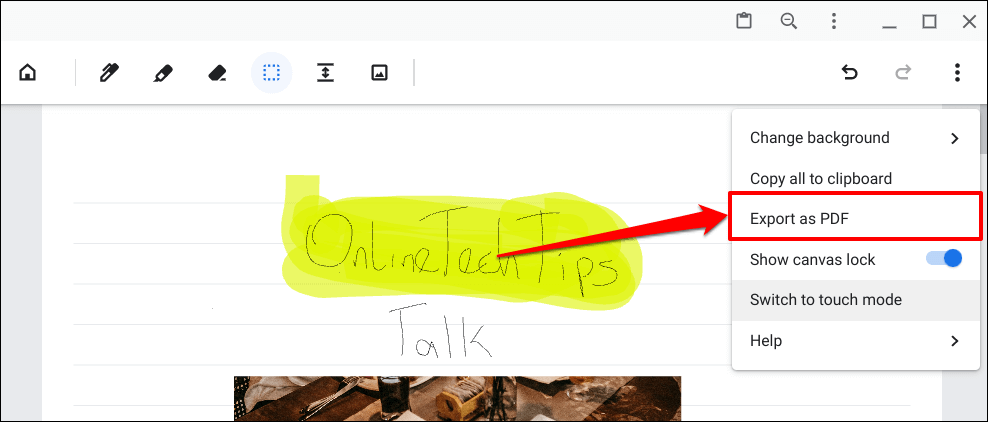
Google Cursive lets customers export notes in PDF file format. Open a be aware, faucet the canvas’ menu icon, and choose Export as PDF.
Create Notebooks in Google Cursive
A pocket book is a group of notes. Right here’s the best way to create a pocket book in Google Cursive and populate it with notes:
- Open Google Cursive and choose New pocket book on the homepage.
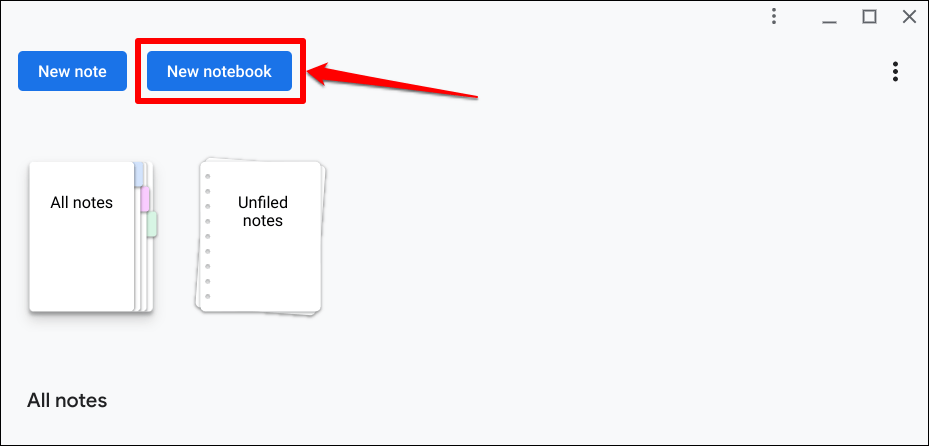
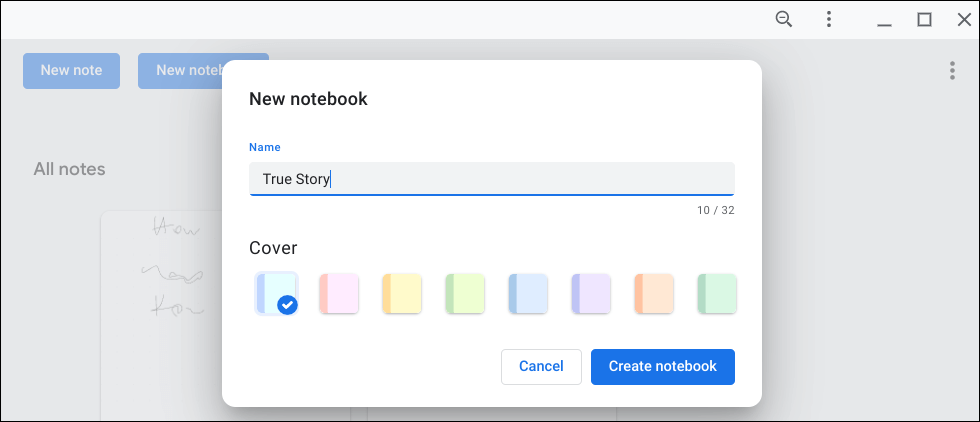
- Give the pocket book a reputation, choose a canopy coloration, and faucet Create pocket book. Now you can add notes to the pocket book.
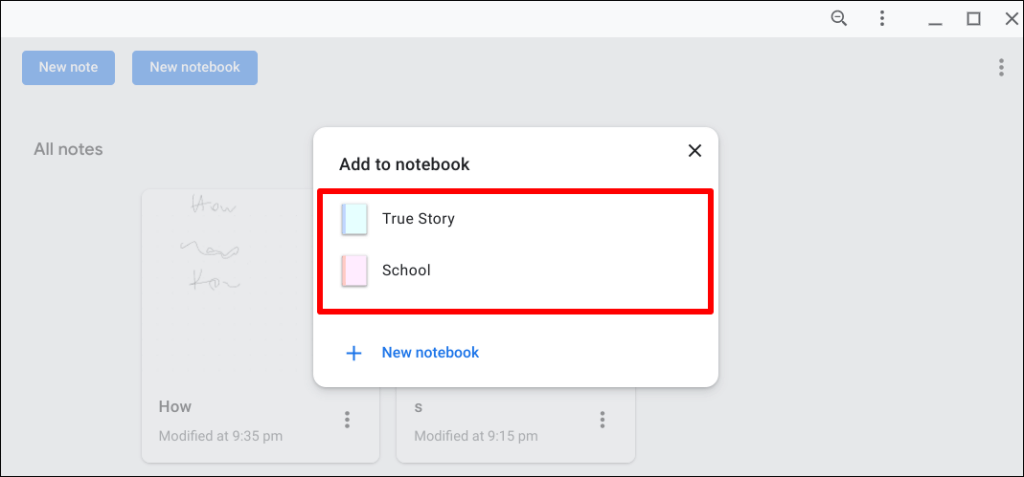
- Faucet the menu on the be aware card and choose Add to pocket book.

- Choose the vacation spot pocket book.
Google Cursive: A OneNote Competitor?
Chromebooks doesn't assist the OneNote Android app. Therefore, Google Cursive suffices as a wonderful OneNote substitute for handwritten notes. Characteristic-wise, nonetheless, Google Cursive doesn’t come near OneNote. So, we’ll name Google Cursive a “easy” OneNote substitute for Chromebooks, not a OneNote rival.
Post a Comment