Even in case you have expertise with the graphic design software program Adobe InDesign, generally you would possibly discover it troublesome to attain the impact you need. On this article, we’ll conquer the training curve and present you methods to curve textual content in an InDesign doc.
This tutorial will cowl methods to arch textual content by making a curved path, including textual content alongside that path, and formatting the textual content so your Indesign venture appears the way in which you need. In the event you’re working with vector graphics, study methods to flip textual content on a path in Illustrator.

Create a Layer for Textual content
First, in case your design may have each graphics and textual content, think about making a devoted layer for all of the typography.

Choose Window > Layers to show the Layers panel or use the keyboard shortcut F7. Then choose the New Layer button to create a brand new layer.
Create a Path
InDesign has a number of instruments you should use to create a path. To create a curved path, you may use the Ellipse Device or the Pen Device. Whereas you should use any form device to create a path, on this instance, we’ll use the Ellipse Device to create an ideal circle.
Learn how to Create a Good Circle Path
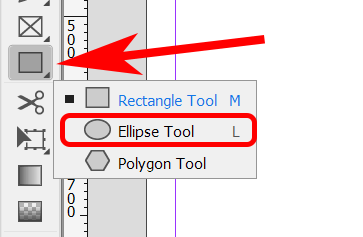
First, choose the Ellipse device. It may be hidden behind the Rectangle Device. Whether it is, click on and maintain the dropdown arrow on the Rectangle device icon till you see the additional choices seem, together with the Ellipse device. Alternatively, you should use the keyboard shortcut L to activate the Ellipse device.
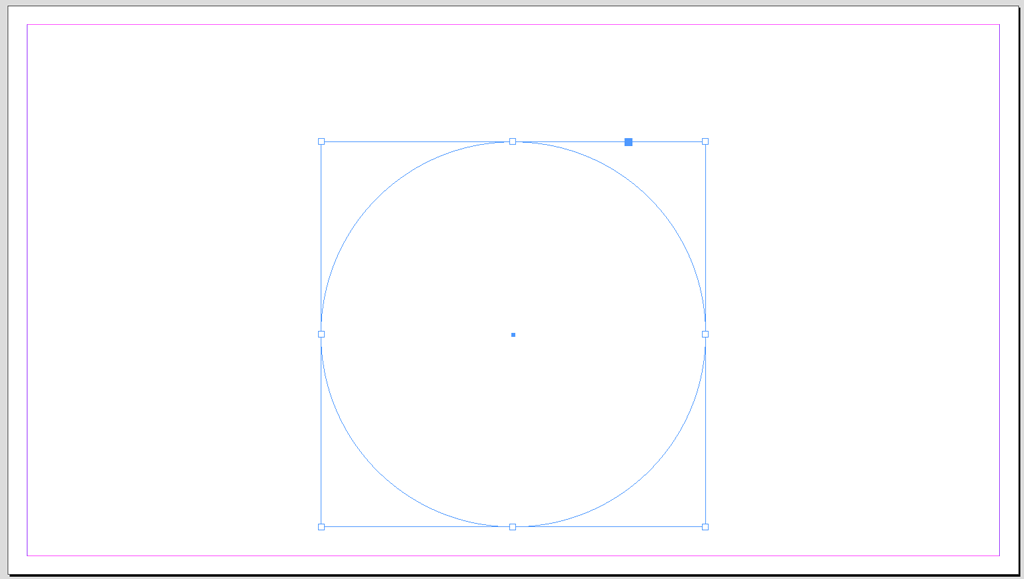
With the Ellipse device chosen, maintain down the Shift key, and click on and drag the cursor to create an ideal circle.
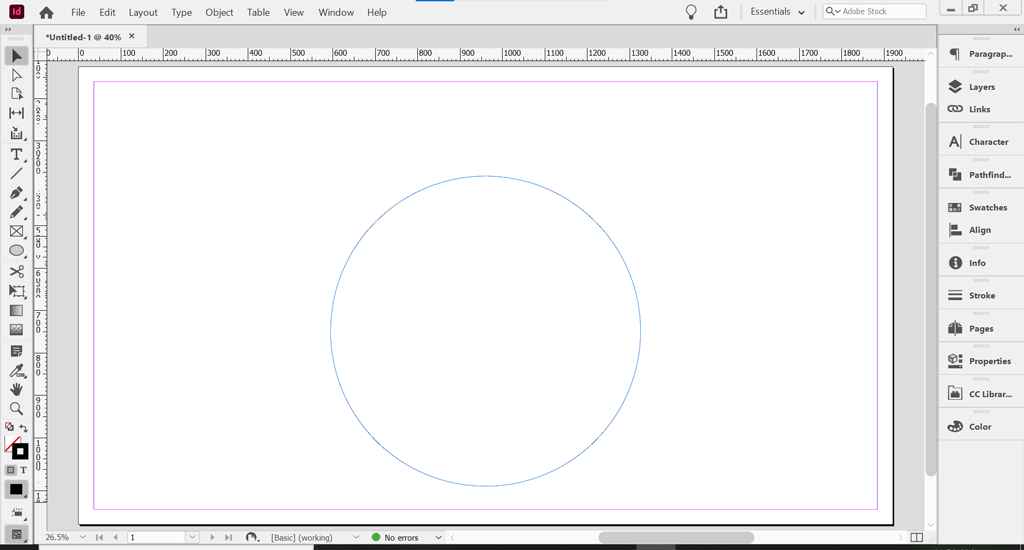
To create curved textual content in InDesign, you kind on a path. That is the curved path we’ll add textual content to.
Make the Path Invisible
Paths are invisible by default. Nevertheless, if base colour and stroke colour are turned on, you’ll want to show them off to make the trail invisible.
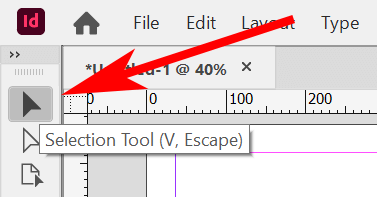
Utilizing the Choice device, choose the circle path you simply created. You will discover the Choice device on the prime of the toolbar or through the use of the keyboard shortcut V.
With the Choice or Direct Choice device chosen, click on on the circle path. Then choose the Properties panel. Within the Necessities workspace, choose Home windows > Properties to show the Properties panel.
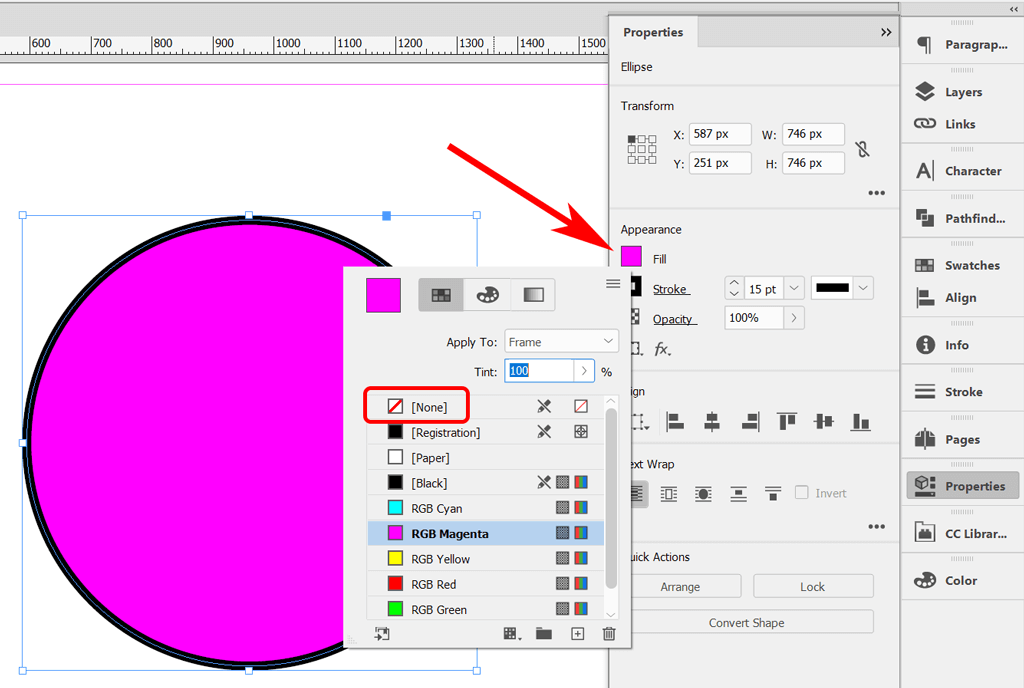
If the circle path has a fill colour and/or stroke utilized to the trail, you’ll see it within the Properties panel. Choose the None possibility beneath Fill.
Then do the identical to take away the stroke. Choose the None possibility beneath Stroke.
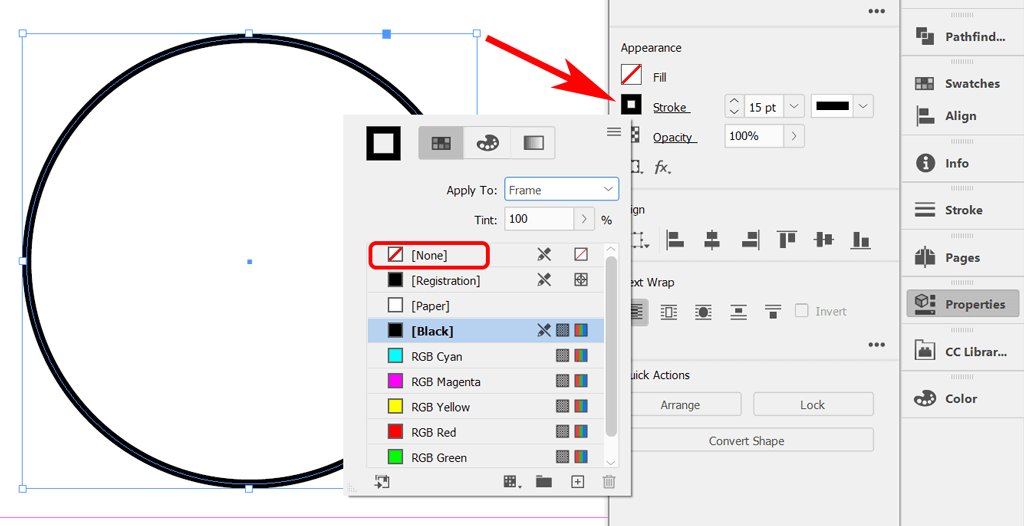
You ought to be left with a easy circle path with out fill or stroke.
Subsequent we’ll add textual content to the curved line of the trail.
Add Your Textual content
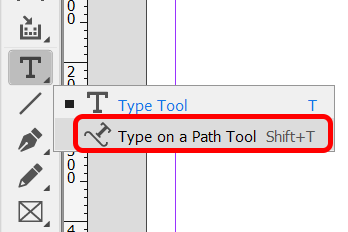
So as to add textual content, first choose the Kind on a Path device from the toolbar. It could be hidden beneath the Kind device. Click on and maintain the mouse button on the textual content device to disclose the Kind on a Path device. Alternatively, you should use the keyboard shortcut Shift + T to pick the Kind on a Path device.
Subsequent, with the Kind on a Path device chosen, transfer the cursor to the circle. While you see a Plus icon subsequent to the Kind on a Path Device icon, click on on the circle. The plus icon means you'll be able to add textual content there.
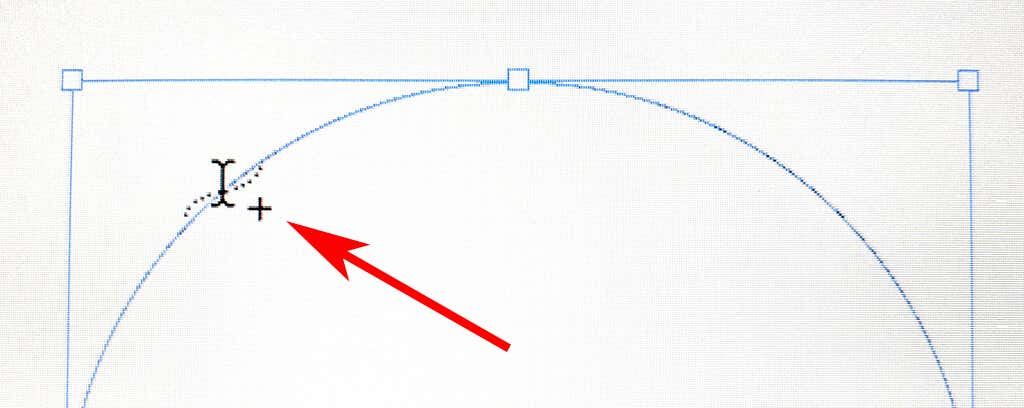
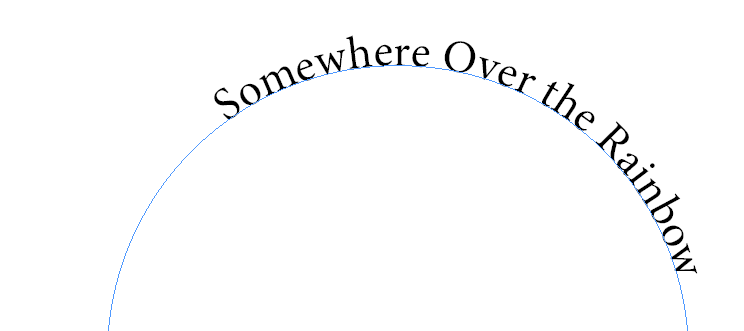
When you click on on the trail, you’ll see a cursor on the trail the place you'll be able to add textual content. Kind a line of textual content.
To regulate the font and dimension of the kind, activate the Character panel by deciding on Window > Kind & Tables > Character or use the keyboard shortcut Ctrl + T or Command + T for Macs.
To regulate the colour of the kind, activate the Coloration panel by deciding on Window > Coloration > Coloration or use the keyboard shortcut F6. Choose textual content and apply the colour.
Subsequent we’ll place the textual content precisely the place you need it on the circle path.
Transfer the Textual content Alongside the Curve
To maneuver your textual content alongside the curve, use the Choice Device to pick the kind on a path. Hover the pointer over the kind’s starting or finish bracket till you see an icon with an arrow subsequent to the pointer. Keep away from the bracket’s in port or out port—these are used to string textual content frames from one to the following.

Drag the textual content alongside the trail to the specified place.
Kind on a Path Choices
The Kind on a Path device comes with quite a lot of choices. Choose Kind > Kind on a Path > Choices to show the dialog field.
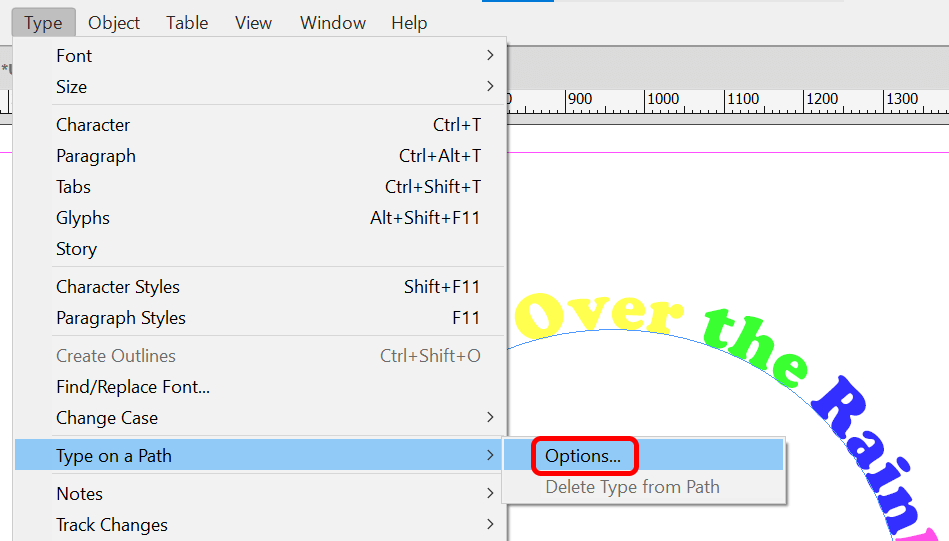
You'll be able to add Impact, Align, and Spacing choices.
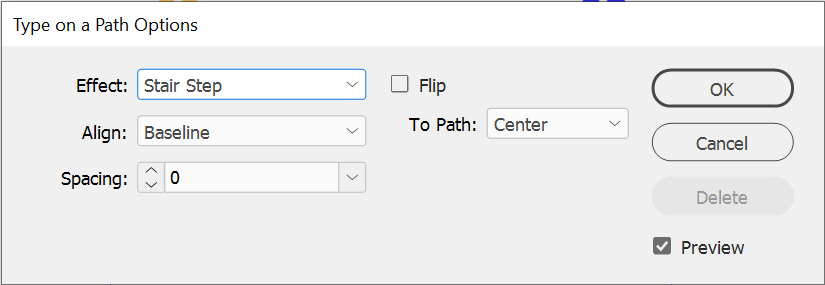
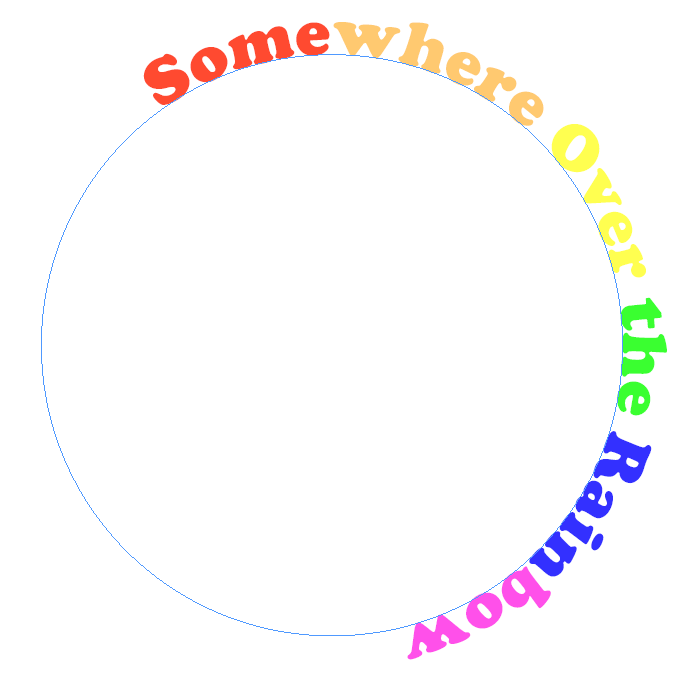
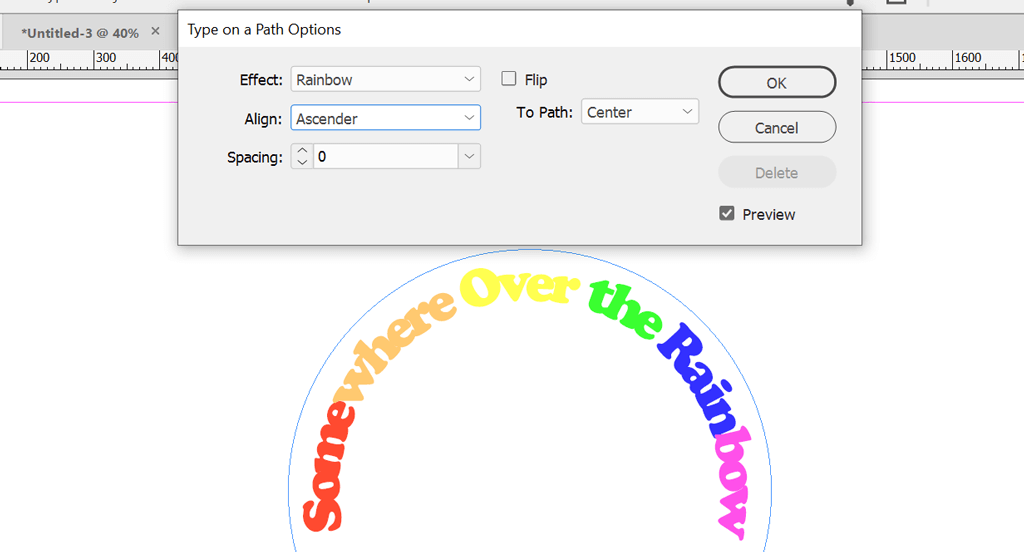
Be sure that the Preview field is checked, and take a look at all of the choices within the Impact dropdown. Rainbow is the default impact, however take a look at others like Stair Step or Skew to see which textual content impact you want finest.
Examine the Flip field to place the anchor level within the within the circle path. It's also possible to use the Align choices to regulate the place the textual content seems relative to the road of the trail. Baseline is the default. Basically, deciding on Ascender will align the highest of the textual content to the trail. Choosing Descender will align the underside of the textual content to the trail.
The Spacing possibility controls the spacing of the textual content across the curve.
Adobe Apps Work Collectively
The most effective a part of Adobe’s Inventive Cloud apps is how they work collectively. Photoshop, Illustrator, and InDesign are important graphic design instruments. Take a look at a few of our different tutorials:
- Learn how to Hyperlink Textual content Containers in Indesign
- Learn how to Masks in Photoshop to Disguise Layers
- Learn how to Minimize Out a Form in Adobe Illustrator
The extra you're employed with Adobe apps, the extra snug you’ll be creating new designs.
Post a Comment